Europe
  Türkiye
  United Kingdom
  Global


 0
0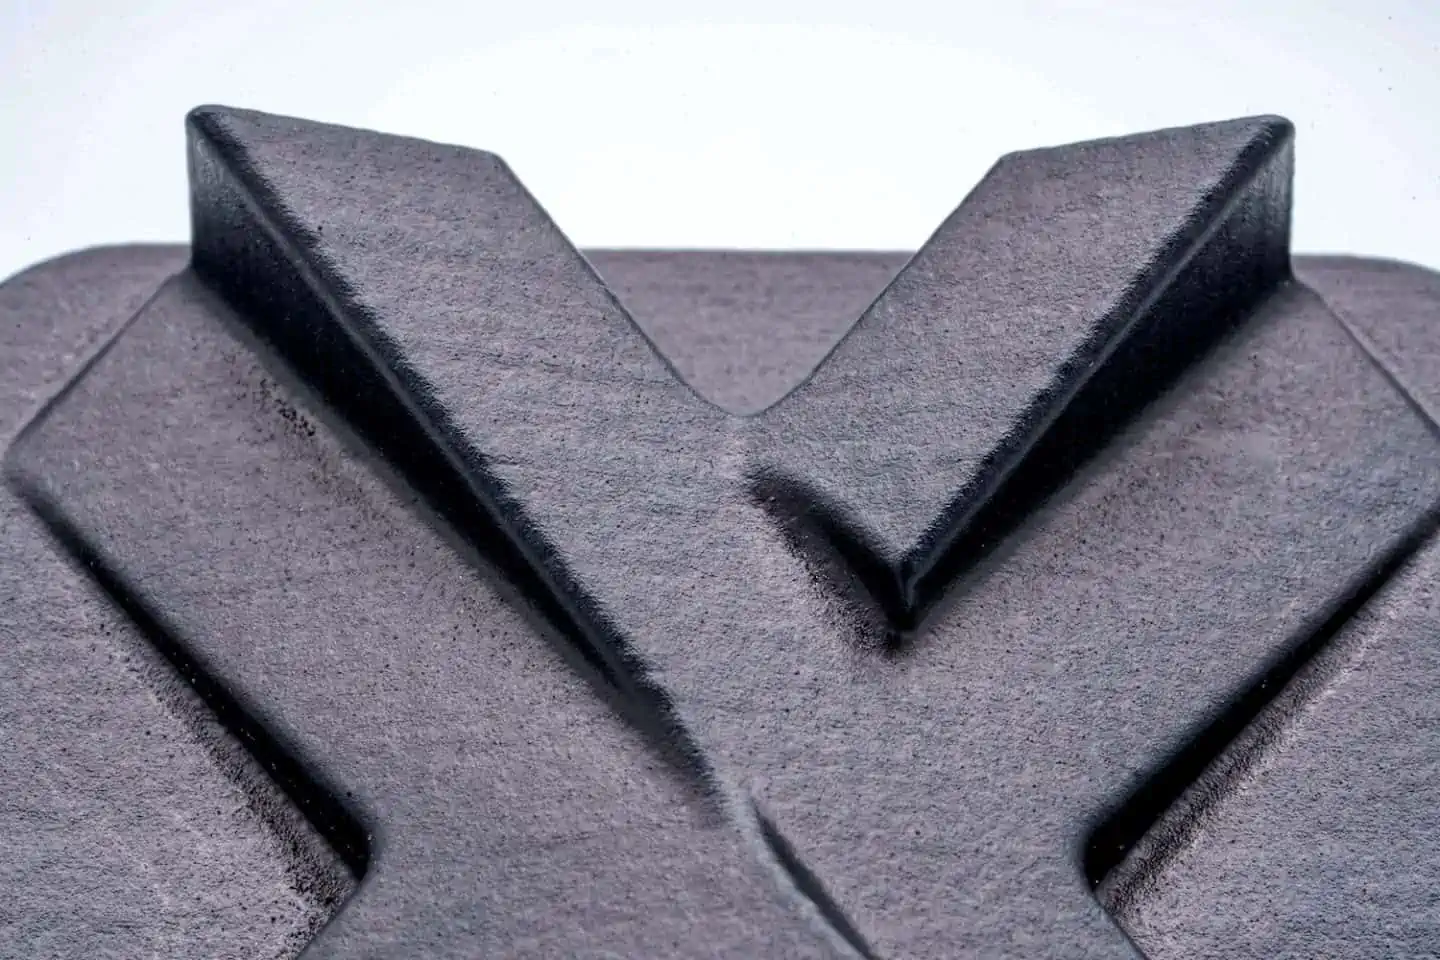
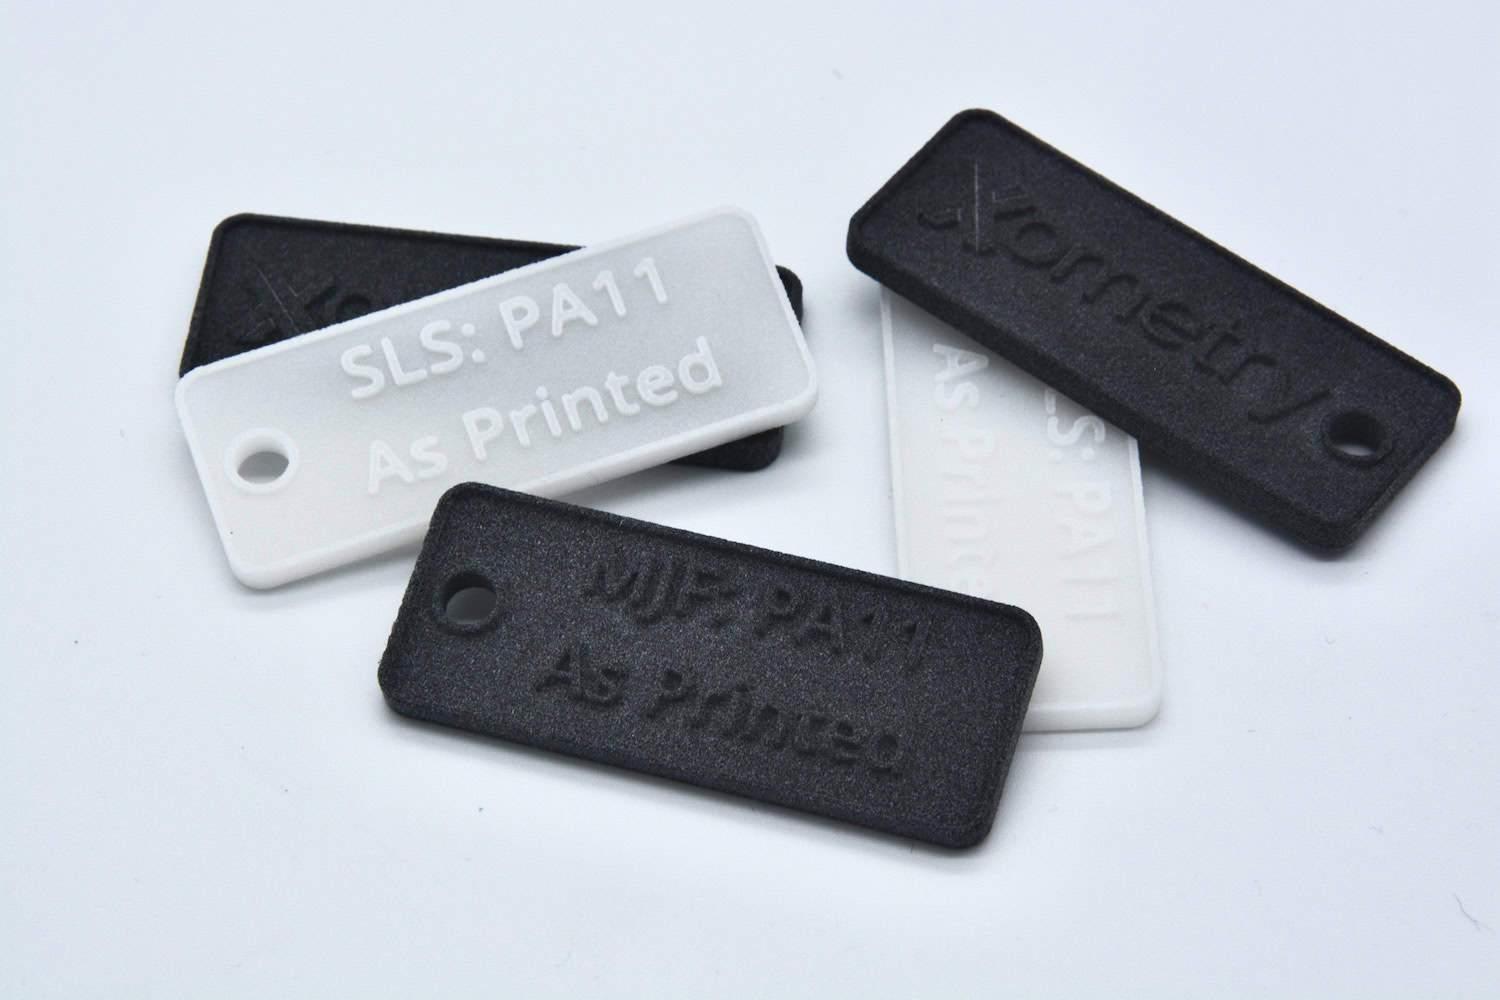
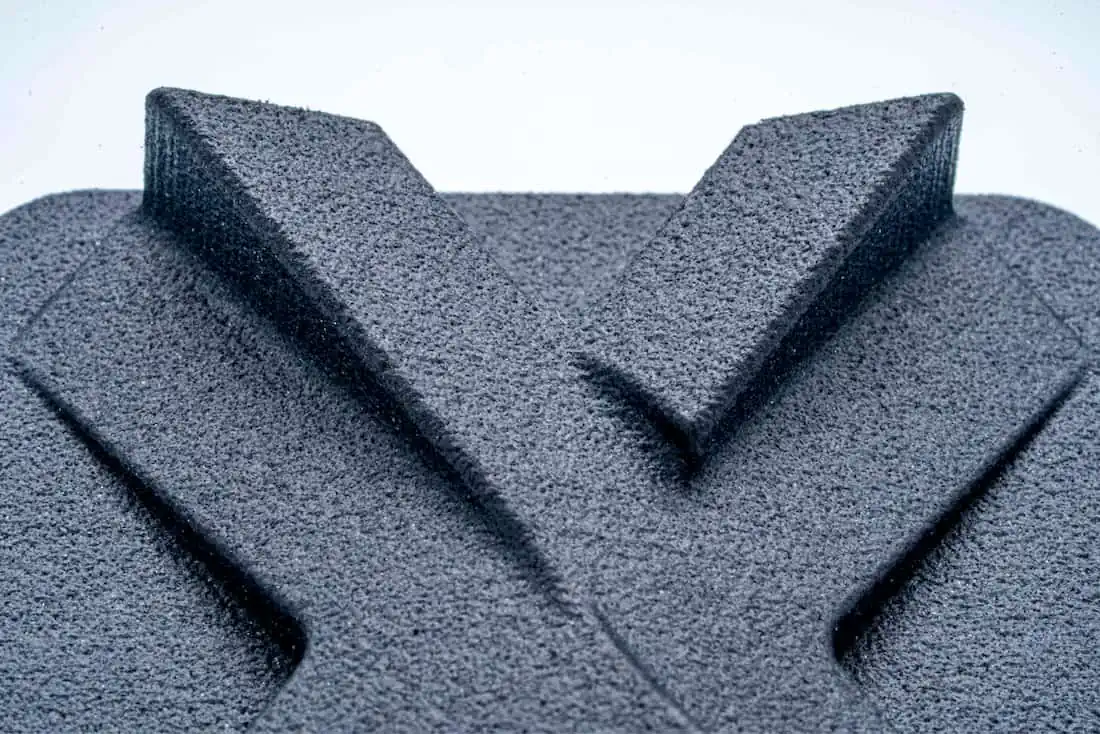
Just out of a 3D printer parts may not have the uniform surface and smooth finish expected. The parts might even be rough, textured and with uneven surfaces. In most cases, the 3D printed parts will either have a black, transparent or white colour. So they would have to be polished and painted to enhance aesthetics and any kind of resistance to water, heat and corrosion. Plus, 3D printing technologies like fused deposition modeling (FDM), stereolithography (SLA) and direct metal laser sintering (DMLS) leave support structures which have to be removed.
This is why 3D printing finishes are an important matter to take into account when you decide to go for an additive manufacturing process. Whether your aim is to achieve a uniform surface, to colour your 3D printed part or to improve its chemical properties, it is possible to choose a suitable finishing option or to combine several of them to obtain the desired result.

Basic Post Processing Operations for 3D Printing
The basic operations, as the name suggests, involve manual operations like the removal of support structures and basic smoothening of the surface for the next steps which involve better surface smoothening.
Removal of Support Structures
The 3D printing processes like DMLS, SLA, FDM and Carbon DLS make use of support structures to support overhangs and delicate features according to the design. These support structures have to be removed after the part is out of the printer. This removal can be done with manual or automatic tools but it is the most important step for further post-processing.

Blasting
Blasting involves the spraying of particles under high pressure against the just out of the printer 3D printed parts. The media particles striking against the surface bring a smoother finish and even texture to the part. This is the initial step in smoothing the surface and getting rid of material residues. It is also used to remove paint or create an even surface for painting and dying.
This finishing process creates a smoother texture compared to the original part with almost even texture but doesn’t give a shiny surface or a glossy look.
3D Printing Finishes to Get a Smooth Surface Finish
Post-processing the plastic or metal 3D prints is the most effective way of guaranteeing a smooth surface finish in 3D printing. In most cases, finishing methods can be used to achieve smoothness in a part, irrespective of the material or the printing process with which was used.
The various surface finishing techniques will deliver different textures and appearances and are not all suitable for all 3D prints. Part geometry and material are the two biggest factors that influence post-processing techniques. The following finishing options are available in Xometry’s Instant Quoting Engine.
Bead Blasting
Bead blasting is similar to media blasting where the difference is that instead of any media, glass beads are impacted on the part surface with high velocity. The spherical beads on repeated impact leave a much smoother and uniform finish.
Apart from giving a uniform finish, bead blasting also helps in improving the mechanical strength of the part. Since the beads are spherical, they don’t much affect the dimensions by hitting deeper into the part and changing dimensions.
Media tumbling
The tumble finishing technique, also known as tumbling or rumbling, is usually used on relatively small parts. Some of the most common, large tumblers are capable of finishing parts of 400x120x120 mm or 200x200x200 mm. For a smoother surface texture, MJF or SLS parts can be polished in media tumblers or vibro machines.
The 3D prints are to be finished and placed in a media tumbler that contains small ceramic chips and on vigorous vibrations, the ceramic chips rub against the part, removing irregularities and extras. This process is a little stronger compared to bead blasting.
Chemical Vapour Polishing / Vapour Smoothing
Unlike physical smoothing processes such as media tumbling, vapour smoothing does not remove material on the workpiece. Instead, a vapour finishing agent (FA 326) is introduced into a sealed processing chamber along with the parts to be smoothened.
The vapour sticks to the part surface where it creates a controlled chemical melt. This chemical melt lowers the surface peaks and valleys by liquifying and redistributing material and makes the surface even. This process also enhances shine and surface quality.
This top quality surface finishing option is hence more expensive compared to the other processes. But it gives a shiny and ultra-smooth surface to the final object.


Post Processing Operations for Colour 3d Printing
While it is possible to print 3D parts directly in colour, for example with coloured filaments using the FDM process, it is very common to use a surface finishing operation to colour 3D parts.
Spray Painting
As the name indicates, spray painting is the coating of paint on the 3D part using spray paint cans and a very common colouring technique that is used even for conventionally machined parts. One major drawback is, the paint coating is just on the surface level; it doesn’t go deeper into the part and hence, if it is scratched or subjected to wear and tear, the internal natural colour is visible.

Dyeing
Dyeing colours the plastic deeply whereas spray painting only colours the surface. This assures vibrant colours in particular and also makes it possible to avoid the phenomenon of peeling or scratching which can occur with spray paint. The lack of excess thickness prevents loss of detail, thus conforming most closely to the original design.
This quality is critical and most important when 3D printing technology has been selected because of the design complexity. Many users prefer dyeing a part in black due to its uniformity in colour and its overall look.
Surface Finishes for 3D Printing Available at Xometry
The table below sums up the various surface finishing options you can choose to obtain the desired finish aspect and surface texture for your 3D prints.
| Surface finish | Suitable 3D printing technology | Advantages | Considerations |
| Blasting | SLS | • Gives smooth texture to surface • Makes surface paintable • Cheap comparatively |
• Might lead to dimensional inaccuracy • Does not give smooth finish |
| Bead Blasting | SLS | • Preservation of the part’s dimensions | • Requires the use of extra materials |
| Chemical Vapour Polishing / Vapour smoothing | MJF, SLS | • Shiny finish | • Lack of versatility |
| Media tumbling | SLS | • Good for small parts | • Size limitations for large parts exist • Time-consuming |
| Spray painting | MJF | • Cheap and fast | • Applies only on surface, inner colour visible if subjected to scratches |
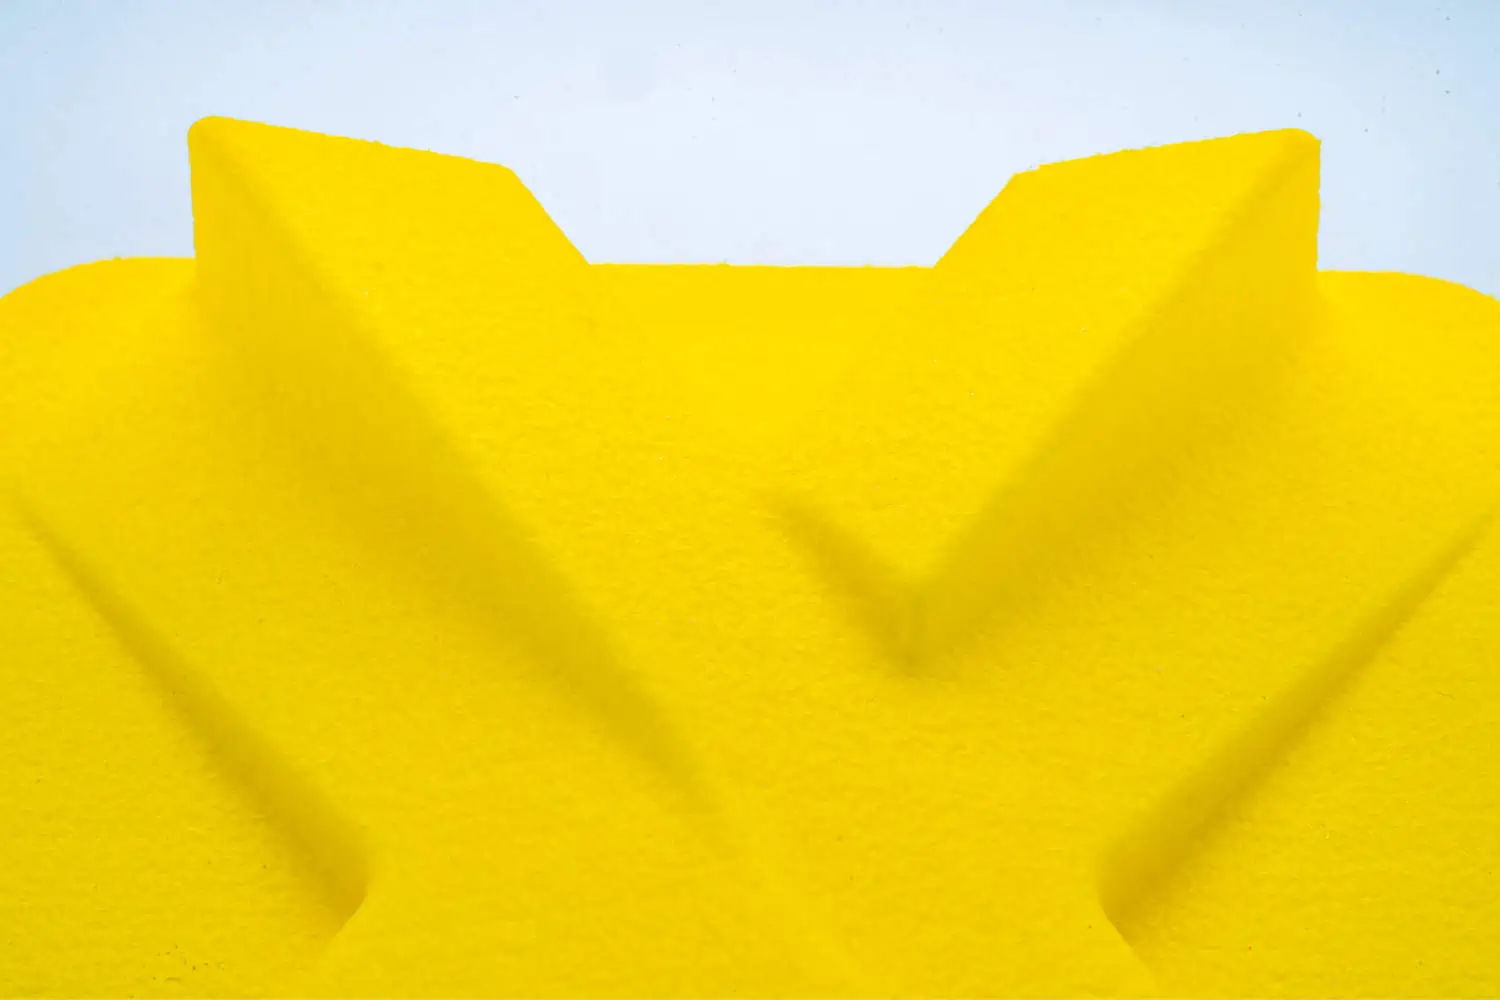
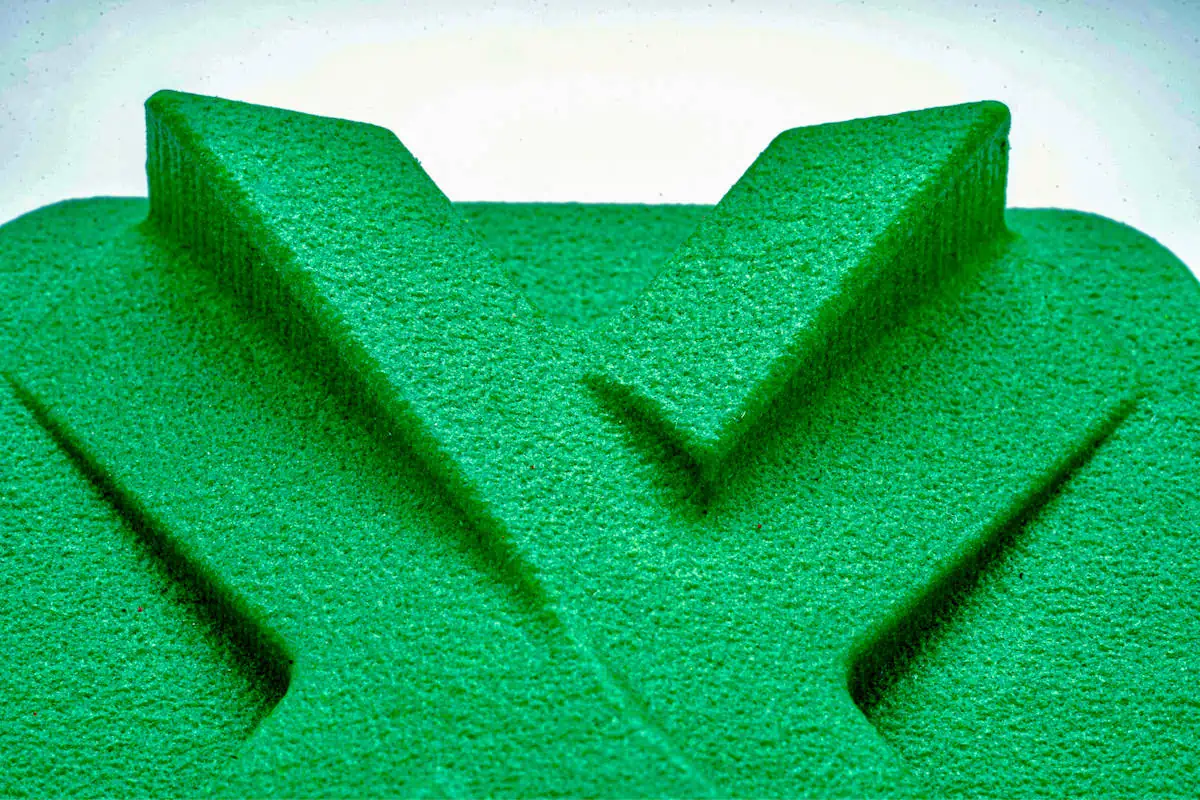
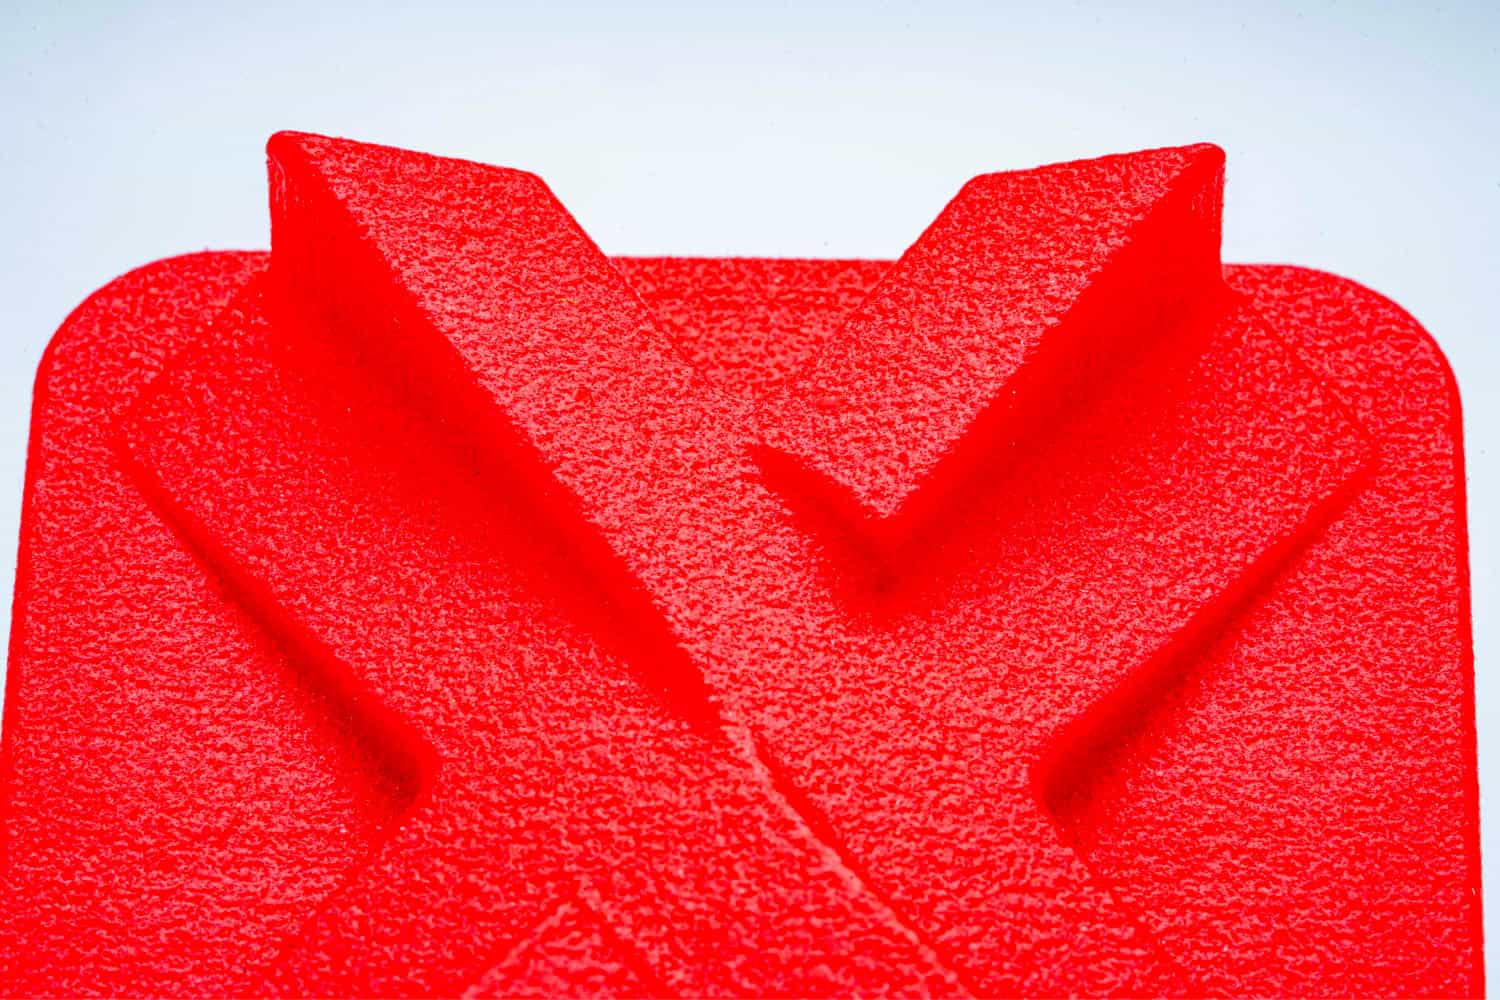
| Dyeing | MJF (black), SLS (black, blue, green, red, yellow) | • Colours deeply into the part instead of only surface • Very durable with superior aesthetics |
• Costly compared to spray painting |
Source 3D Printed Parts With Finishes at Xometry
Post processing is a very important operation for 3D printing processes. Basic operations like removal of support structures is mandatory while other basic and finishing operations are done to improve the physical and aesthetic value of the part.
Xometry offers 3D printing services throughout Europe and our experienced team is always ready to help you. Xometry Instant Quoting Engine and get a quote in a matter of seconds for your 3D printing projects.


 Download